¿Cómo se utiliza Reviver conductor para actualizar mis controladores? (Guía Visual)How do I use Driver Reviver to update my drivers? (Visual Guide)
¡La guía rápida a continuación le muestra cómo se puede usar Driver Reviver para encontrar y actualizar controladores obsoletos en 5 sencillos pasos!
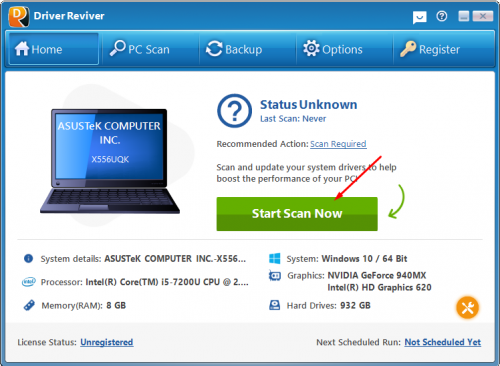
1. Inicie Driver Reviver y haga clic en el botón Iniciar escaneo ahora para comenzar a escanear su PC

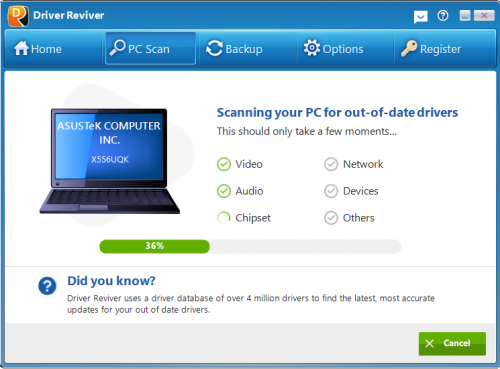
2. Espere a que se complete el proceso de escaneo

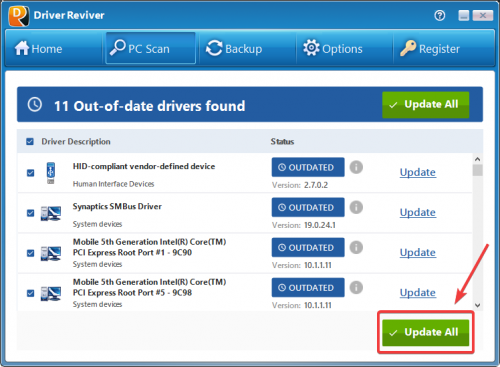
3. Revise los resultados del escaneo y haga clic en el botón Actualizar todo para actualizar todos los controladores obsoletos en su computadora.
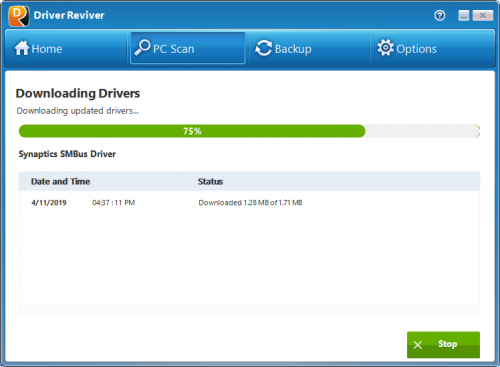
4. Driver Reviver ahora descargará las actualizaciones para sus controladores, hará una copia de seguridad de sus controladores originales y luego instalará las últimas actualizaciones para los controladores de su computadora. Esto puede tomar un tiempo dependiendo de cuántos controladores esté actualizando en su computadora y el tamaño de las descargas.
5. Una vez instaladas las actualizaciones, verá un breve resumen de sus controladores.
¡Es tan fácil como eso!
¿Aún no ha registrado su Driver Reviver?
Descubra cómo registrar (activar) su Driver Reviver


