How do I use Registry Reviver to scan for issues and repair them? (Visual Guide)
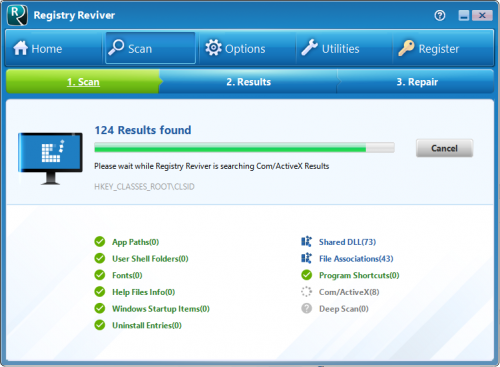
The quick guide below shows you how Registry Reviver can be used to find and repair issues in 5 easy steps!
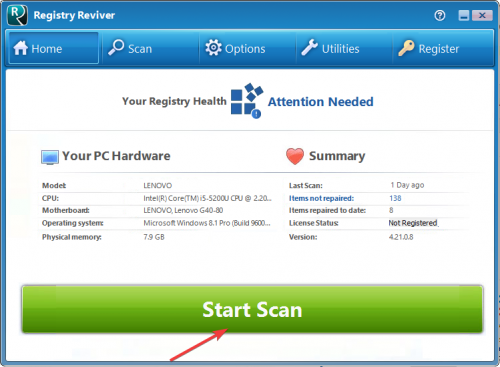
1. Launch Registry Reviver and click the Start Scan button to start scanning your PC
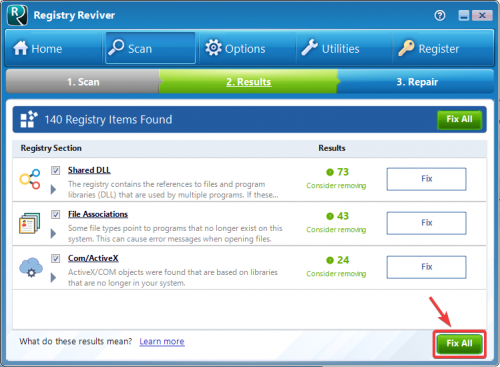
3. Review the scan results and click the Fix All button to repair all the issues found
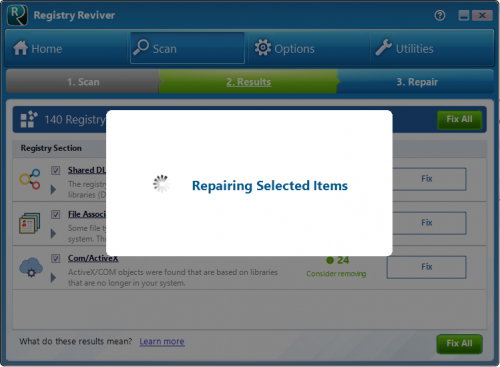
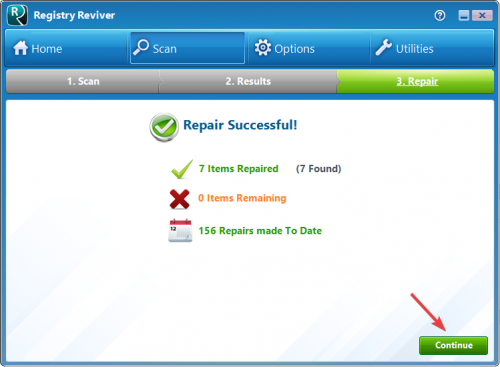
5. Once the repairs are complete, you will see the final results and your PC’s status changes to Excellent.
It’s really as easy as that!
