-
-
products
-
resources
-
support
-
company
-
How to Revive an Old PC – Part 4
By Steve Horton December 23, 2011maintenance, revive an old pc, upgrading4 CommentsHow to Revive an Old PC – Putting things together
Welcome to Part 4 of our five-part series about reviving an old PC. Check out part 1, Part 2 and Part 3, and then read on for how to install your newly-purchased upgrades.
Take it Apart Again
Remove the side case of your PC again and lay it flat on a hard surface. It’s a good idea to ground yourself by touching a metal surface or wearing an anti-static wrist strap, as static electricity will destroy your precious equipment even before you start.
Remove Old Components and Put in New
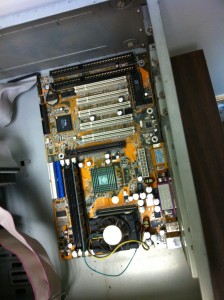
First, disconnect all cables from the motherboard, remembering that some require you to squeeze the ends of the cables before you pull. Unscrew the motherboard from the case and remove it.
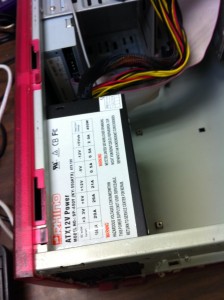
Next, the old power supply should slide right out. Set it aside.
Slide the new power supply in place of the old, making sure to clean all dust around it before you do so.
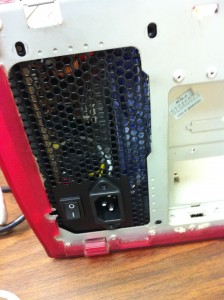
Be sure the power supply is flush with the back of the PC and that all vents are clear.
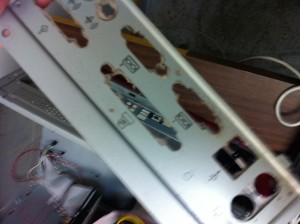
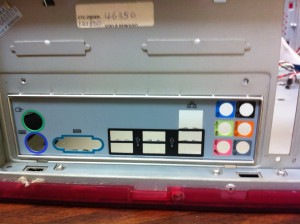
Pull out and set aside the back plate, where the cords plug in. Each motherboard comes with its own plate, and the cable choices are more modern these days, anyhow.
Pop the new back plate in place of the old. Usually, no tools will be required. Make sure it’s got a tight fit all the way around.
Assemble the Motherboard
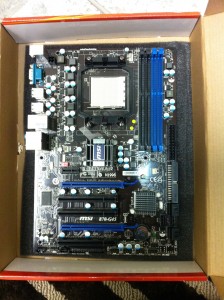
Now, we’re going to take the new motherboard out of its packaging and set it on a flat surface. I chose the foam core that it comes in. Also, remove your new CPU from its packaging and put it in your hand.
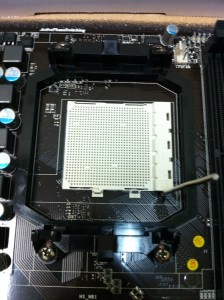
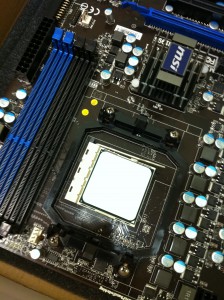
See the little lever on this white piece? This is where your new CPU will go. Lift the lever all the way up.
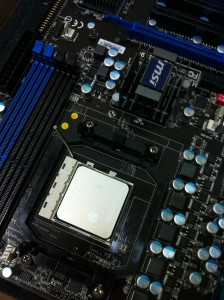
Place the new CPU on the white piece. There’s a triangular corner missing from the CPU case; this is a clue as to the orientation of the CPU when you place it on. It should drop right on with zero insertion force. By the way, that’s abbreviated ZIF.
Next, push the lever all the way back down. The CPU should settle in to its housing in the process.
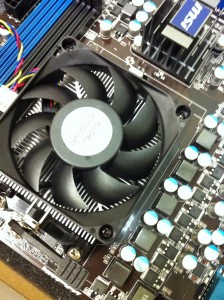
Place the included fan enclosure over the CPU and adjust the levers for a tight fit. This part can be frustrating and tricky, but keep trying. You won’t break it.
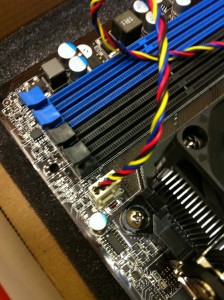
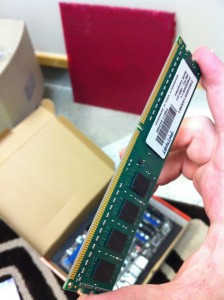
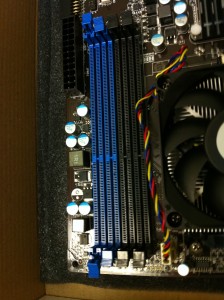
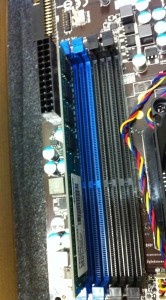
This part of the motherboard is where your new memory will go. Remove your memory from its packaging.
See the pins along the bottom of the memory module? This shows you that the memory only goes in one way.
Push the plastic edges open on the memory housing. They’ll stay out.
Now, push the memory module in place, and the plastic edges will snap closed on their own. Repeat for any other memory modules you have. Remember, every pair of modules must be identical. You can still install just one, though, which is what we’re doing in this case.
Install the Motherboard
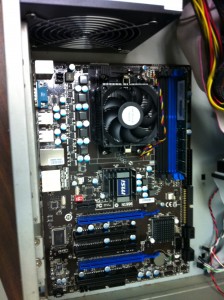
Next, pick up the entire motherboard and place it in the case where the old one went. Make sure the holes line up, and screw the motherboard in using the same screws you removed before.
Install the Video Card
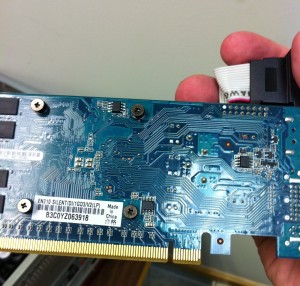
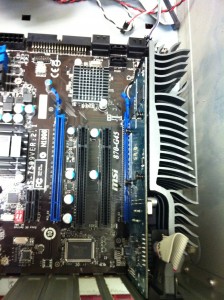
Remove your new video card from its packaging. This is an example of a PCI-E, or PCI Express card. Most modern-day video cards are this variety. Like the other pieces of hardware we’ve installed, the video card only installs one way.
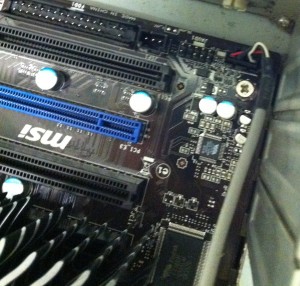
Pick an open PCI Express slot (it’ll match the pins) and push the video card in place. You may have to remove a thin panel from the back so the VGA plug sticks out of the PC.
Make the Connections
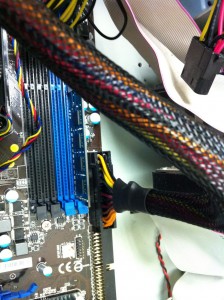
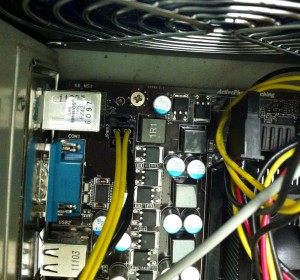
Next, plug the big power supply cable into the appropriate place on the motherboard.
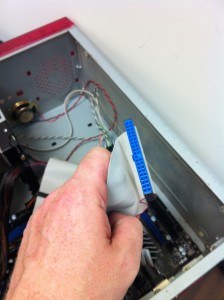
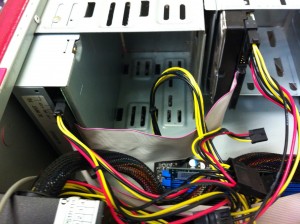
This is an IDE cable. Since we’re keeping our old hard drive (newer drives don’t use ’em), plug one end into the hard drive, one into the DVD drive and one into the motherboard.
Keep in mind that you’ll have to fiddle with the DIP switches so that one drive is the master and the other is the slave. This bit is complicated, but there’s usually a diagram on the top of both drives that tells you the specific place to put the switch.
Plug the disc drive cable into the motherboard. This allows CD music to pass straight through to your speakers.
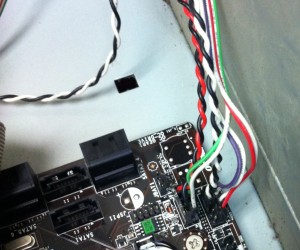
There are many other little cables that must be plugged into the motherboard that do things like power the power switch, light up the LED lights on the front, and so on. Almost everything is marked, so it’s easy to tell how it goes.
And here’s the last of those little cables.
You’re Done!
Congrats! You’re done. Close up the case, plug the monitor into the VGA port on the back of the PC, plug the monitor and PC into power, plug in the Internet and your speakers, plug in the mouse and keyboard, and turn it all on. If all went well, it should start up the same Windows you used before you upgraded.
In the fifth and last part, we’ll explore installing an alternative OS, designed just for older or budget PCs like yours. Look for it soon!
Was this post helpful?YesNoFree Driver Updates
Update your drivers in less than 2 minutes to enjoy better PC performance - Free.
Free Driver Updates
Update your drivers in less than 2 minutes to enjoy better
PC performance - Free.
Didn't find your answer?Ask a question to our community of experts from around the world and receive an answer in no time at all.most relevant recent articles Pin It on Pinterest
